This guide explains how to configure a LTS IP Camera to save images to a shared network folder. This guide assumes that you already know how to set up a shared network folder.
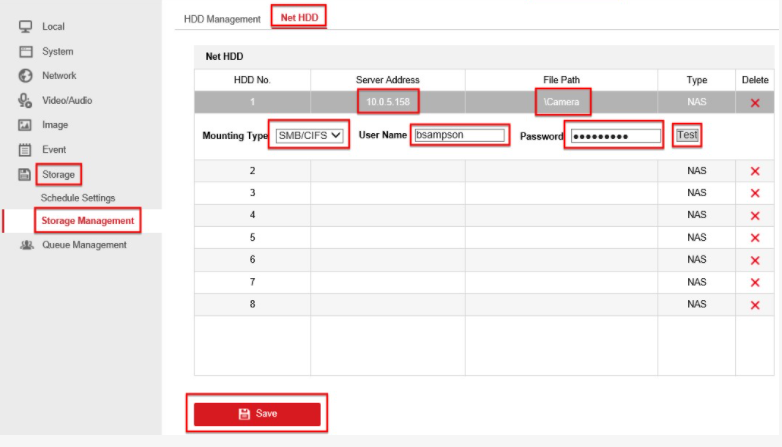
Go to Configuration, Storage, Storage Management, Net HDD. Enter the server IP address and File Path. Select Mounting Type as SMB/CIFS, enter User Name and Password then click Test.
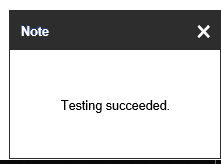
If the connection is successful, you will see the Note "Testing Succeded" in the bottom right of the browser.
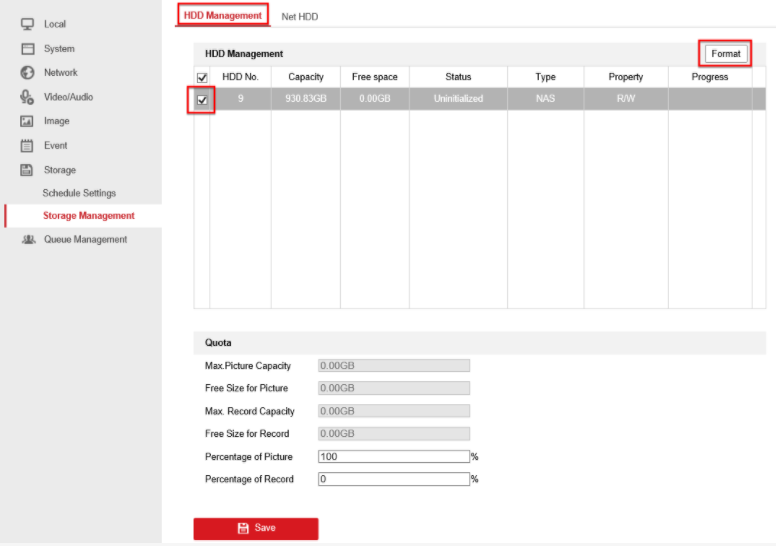
If successful, click Save, then click on HDD Management, tick the HDD and click Format. This will take some time so please be patient.
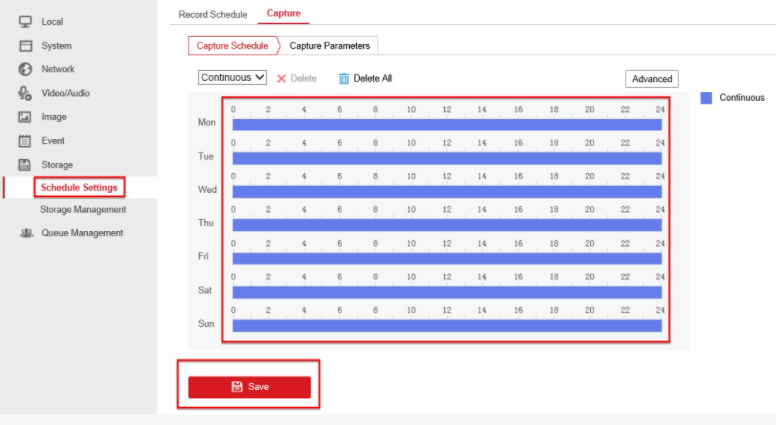
Click on Schedule Settings and make the whole week Continuous, then click save.
Click on Capture Parameters, tick Enable Timing Snapshot, then click Save.
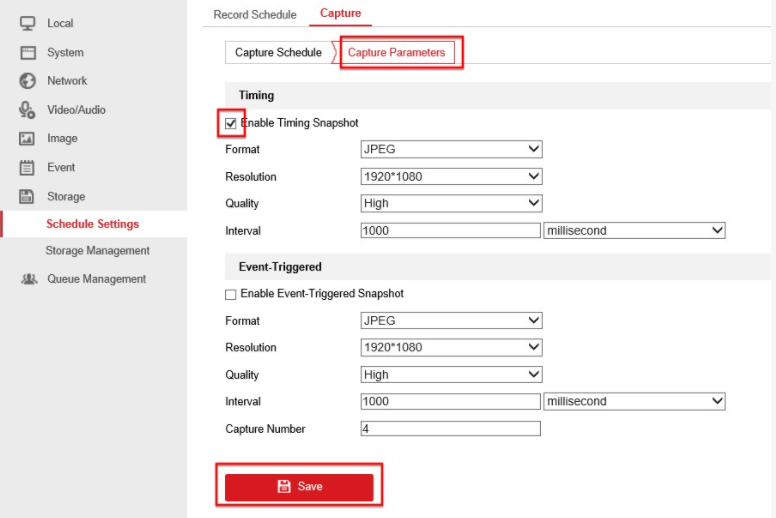
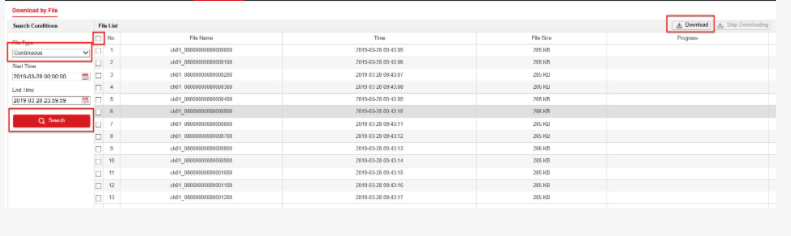
In this example, the camera will save a JPEG snapshot in the folder ever second. To download the images, do not go to the shared folder, instead go to Picture, select Continuous, click Search, select the files you want to download, then click Download.